
How to Manage Working at Heights Safely in Ports and Harbours
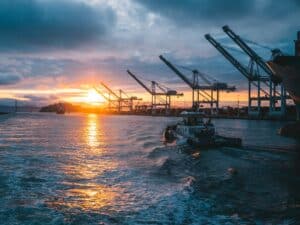
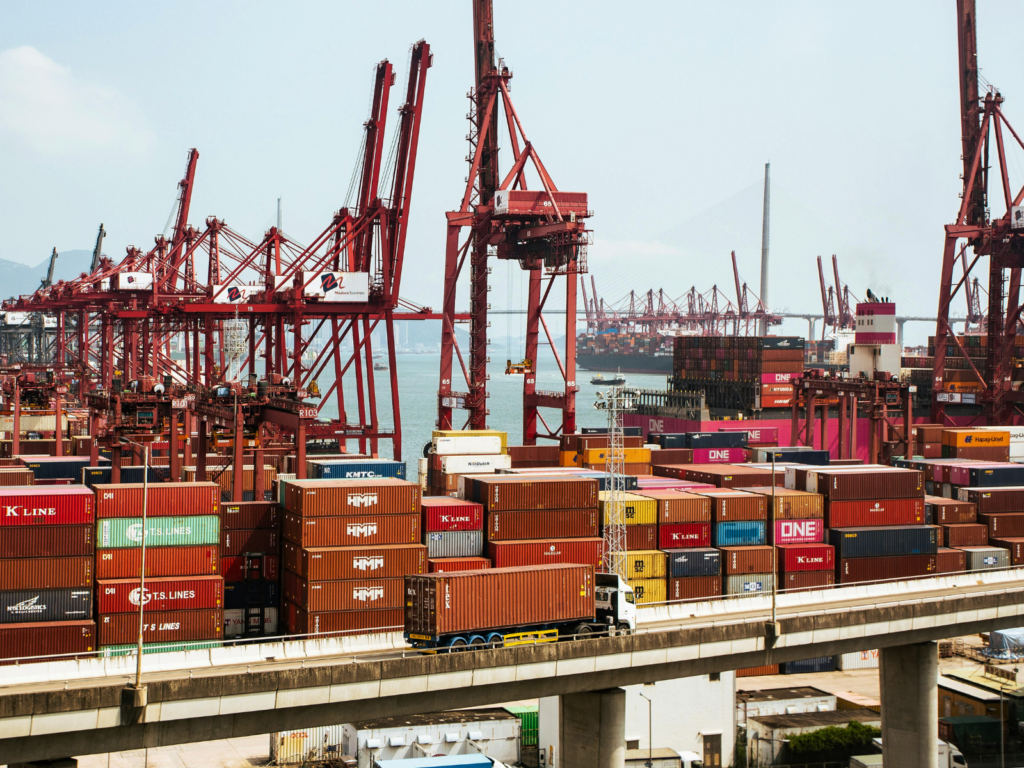
Working at heights is never “just another task” in a port. You’re dealing with wind off the water, corrosion, moving plant, vessels coming and going, and multiple contractors trying to get work done in tight windows. The work itself might be routine – inspect a lighting mast, repair a conveyor, service a ship-to-shore crane – but the conditions rarely are.
This guide is written for safety professionals who need a repeatable, practical method for working at heights in ports and harbours – one that aligns well with Australian WHS expectations (risk management, hierarchy of controls, competence, and consultation) while still being usable internationally.
Practical Step-by-Step Guide
Step 1: Define the job clearly (and draw the boundary around “the work”)
Before you talk controls, lock down the basics:
- Where exactly: berth number, crane ID, conveyor section, roof area, wharf edge
- When: start/finish, night shift, planned handovers, vessel schedule conflicts
- How: MEWP (mobile elevating work platform), scaffold, fixed access, ladder, rope access (if applicable)
- Who: port staff, contractors, specialist OEMs, spotters, supervisors
- What else is happening nearby: lifts, traffic routes, other maintenance, cargo operations
In ports, many incidents start with a scope that was “understood” but never actually written down.
Step 2: Identify port-and-harbour-specific hazards (beyond the generic list)
A standard working-at-height hazard library is a start. Ports add recurring hazards that deserve explicit prompts in your risk assessment:
Environment
- Wind gusts (especially on elevated platforms and crane structures)
- Salt spray and corrosion affecting anchor points, grating, handrails, bolts and fixings
- Wet/slippery surfaces (sea air condensation, algae near sea walls)
- Visibility issues (night work, glare from floodlights, rain squalls)
Interfaces
- Dropped objects onto live traffic/operations below (tools, pins, shackles, radios)
- Moving plant and vehicle exclusion zones that don’t stay “exclusion zones” unless managed
- Vessel movements changing access geometry and emergency response routes
A practical tip: if your team has had repeat “near misses” (dropped objects, wind stoppages, exclusion zone breaches), turn those into mandatory RA prompts – not “lessons learned” that are forgotten after a month.
Step 3: Build a task-based work at height risk assessment people can execute
A good work at height risk assessment (JSA/JHA/SWMS (safe work method statement) – use your local terminology) is not the one with the most pages. It’s the one that makes it hard to miss the basics when the terminal is under pressure.
Make the assessment:
- task-based (not “Working at Heights – too generic”)
- control-specific (what exactly is installed/checked)
- linked to authorisation (so the permit and the RA agree)
Include practical pass/fail checks such as:
- Anchor points: what type, what condition, how verified, corrosion checks
- Exclusion zones: boundary definition, signage/barriers, who is policing it
- Dropped object controls: tool lanyards, tether points, toe boards, netting (if used)
- Weather limits: what triggers stop-work, who calls it, how it’s communicated
- Rescue method: not “rescue plan in place”, but how you’ll recover a suspended person
Step 4: Apply the hierarchy of controls (engineer out the fall wherever you can)
Across WHS-style frameworks globally, the hierarchy of controls is your backbone. In ports, it also helps you avoid “harness first” thinking.
Work through it in this order:
- Eliminate: Can you avoid working at height? (remote inspection, cameras, change the job plan)
- Substitute / isolate: Can you isolate the hazard area or change the access method?
- Engineering: Fixed platforms, guardrails, permanent stairs/walkways, engineered anchor systems
- Administrative: procedures, permits, supervision, sequencing, exclusion zones
- PPE: harness systems, SRLs, lanyards (critical, but not a substitute for engineering)
If you do end up relying on fall arrest, treat it as a system (anchor + connector + harness + clearance + rescue), not a piece of equipment.
Step 5: Choose access equipment that suits quayside conditions
Ports use everything: ladders, scaffolds, MEWPs, fixed access, crane walkways, and sometimes rope access. The key is not what’s familiar—it’s what stays safe when conditions shift.
MEWPs
- consider ground bearing capacity, potholes/grates, edge protection, and wind exposure
- plan the recovery method if the MEWP fails or is stuck elevated
Scaffolds
- ensure it’s designed/erected for the environment (wind loading, ties, corrosion exposure)
- manage interface with operations below (dropped objects, exclusion zones)
Ladders
- treat ladders as limited-use access, not a default platform
- build clear “ladder permitted / ladder not permitted” rules into your planning process
Step 6: Confirm competence, authorisations, and contractor controls
Ports often depend on contractors for specialist maintenance. Your process should answer:
- Who is competent for the access method and task?
- Who is authorised to issue/approve working-at-height permits?
- Who has stop-work authority on the day?
- How are contractors inducted into local port rules (traffic, radio, exclusion zones, emergency response)?
If you have a training/competency system, consider linking it to permit workflows so checks aren’t manual and last-minute.
Step 7: Rescue planning that works on a live terminal
Rescue is the part that most “looks good on paper” and fails in practice.
Make it operational:
- What rescue kit is required, and where is it staged?
- Who are the rescuers, and what’s their realistic response time at that berth?
- How do you recover someone from a harness suspension on a crane structure?
- What changes if you’re working over water or near a vessel interface?
- What’s the comms trigger and escalation path?
If the rescue plan depends on perfect access in a congested terminal, it isn’t a plan – it’s an assumption.
Step 8: Permit to work (PTW): treat change as a first-class event
A strong PTW process is how you control drift: wind changes, SIMOPS changes, shift changes, and “just a quick extra task”.
Ensure your PTW supports:
- prerequisites before issue (RA complete, equipment inspected, rescue plan confirmed)
- suspend/reinstate rules (weather, operations conflict, loss of controls)
- shift handover requirements (what must be re-verified)
- close-out/handback (area left safe, barriers removed, temporary controls accounted for)
Electronic PTW helps most when it prevents “silent workarounds”.
Step 9: SIMOPS: control overlaps before they become incidents
Working at height can conflict with:
- lifting operations
- crane movements
- truck routes and container handling
- adjacent maintenance requiring isolations or access restrictions
Make a simple SIMOPS question mandatory:
“What other work is planned or active in this zone and timeframe – and what can go wrong if both proceed?”
Step 10: Close-out and improve using leading indicators
If you only measure injuries, you’re measuring late.
Track leading indicators such as:
- permits suspended due to wind/conditions (and whether teams complied)
- recurring deviations (why controls weren’t achievable)
- inspection failures (anchor condition, corrosion, damaged lanyards)
- dropped object prevention compliance
- rescue drill completion and lessons learned

How IntelliPERMIT supports you
For ports trying to standardise working-at-height control across multiple berths, contractors, and shifts, IntelliPERMIT can help by:
- linking Risk Assessments directly to Permits to Work so controls become enforceable conditions
- using adaptable workflows to require prerequisites, approvals, and formal suspension/reinstatement
- supporting field execution with IntelliPERMIT Mobile (including offline capability where coverage is limited)
- providing structured reporting for audits and continuous improvement
- supporting SIMOPS visibility (enhanced when used with spatial/GIS inputs)
IntelliPERMIT e-PTW won’t replace engineering judgement or good supervision—but it can reduce reliance on institutional knowledge and improve consistency
Summary checklist (use this before you start)
- Scope and location defined, including interfaces
- Task-based RA/JSA/SWMS completed
- Controls follow hierarchy (engineering before PPE)
- Access equipment selected for quayside conditions
- Exclusion zones and dropped object controls in place
- Competence + authorisations confirmed
- Rescue plan is practical and resourced
- PTW issued with stop-work triggers and suspension rules
- SIMOPS checked for time/location
- Close-out done; learnings captured
To wrap it up: working at heights in ports and harbours is best managed by making the “safe way” the default—define the job properly, assess the real dockside hazards, apply the hierarchy of controls, and use a permit-to-work process that actively controls change when conditions or SIMOPS shift. If you can standardise those steps and capture consistent evidence (especially around equipment checks, competence, rescue readiness and close-out), you’ll reduce last-minute workarounds and improve both safety and uptime across the terminal.
Helpful resources
Australia / general good-practice starting points:
- Safe Work Australia – Model WHS laws & guidance: https://www.safeworkaustralia.gov.au/
- UK HSE – Work at height guidance hub: https://www.hse.gov.uk/work-at-height/index.htm
- UK HSE – “Work at height: a brief guide” (INDG401): https://www.hse.gov.uk/pubns/indg401.htm
- OSHA – Marine Terminals (29 CFR 1917): https://www.ecfr.gov/current/title-29/subtitle-B/chapter-XVII/part-1917
- OSHA – Fall protection topic page: https://www.osha.gov/fall-protection
- ISO 45001 overview (OH&S management systems): https://www.iso.org/standard/63787.html